MG ZR Body Kit

This post is really a culmination of the work carried out in the following posts.

Face Off Grille Finished and Fitted
Seat Leon Cupra R Custom Moulded Splitter

I have to say that the car looks great with the MG ZR body kit (lower valences really), and the custom moulded Seat Leon Cupra R splitter sets the car off a treat. The splitter also works well with the face off grill, resulting in a subtly aggressive front end and a great stance on the road.

In my opinion the omission of the MG ZR spoiler really works well for this car, giving it a sleek profile and maintains the red and black theme throughout.


Seat Leon Cupra R Custom Moulded Splitter

Picked up an LCR splitter from a Seat main dealer for £21, after seeing them fitted to quite a few MG ZR's. I wasn't over keen with how most people had just bolted it on, I wanted a more OEM feel, so I got to work moulding it on. I offered it up and found an excessive amount of force was needed to hold it in place how I wanted it.

To achieve the tight moulded fit to the MG ZR lower splitter, I had to whip out the old heat gun and set about moulding it.

After quite some faffing, it now fits with no gaps even in the upsweeps which is how I wanted it to look, as if it was actually made for the car. On top of adding to the race graphic of the car, it's also a nice edition to the black and red theme.


Centre mounts cut


Centre marked off


Moulded


Well out of shape from the amount of bending taken place


Gadget made to straighten things out


Centre mounts filled and drilled to attach to bumper


Test fit


Fitted


How to fit an MG ZR front splitter

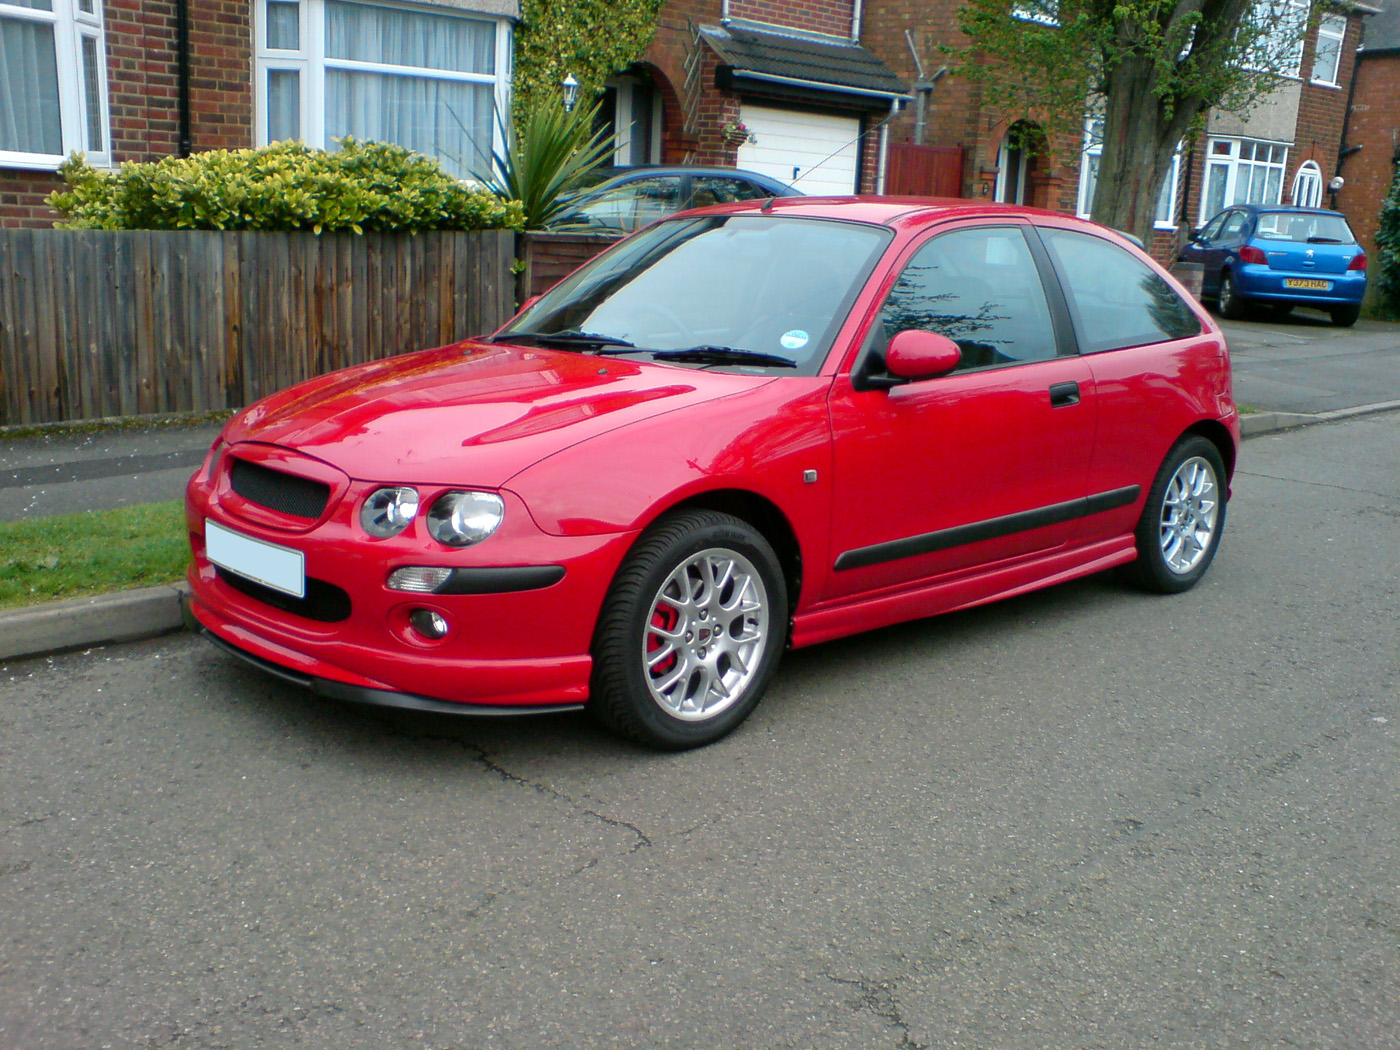
A number of site visitors have been interested in how I have attached the front MG ZR splitter, so instead of doing a new post I am rewriting this one.

I bought a front MG ZR splitter a long while ago now and have been working quite hard on it, few things needed fixing; end cap had snapped off, paint was bubbling up a treat and there was some bumper tape left on it.

As I received it, end cap fixing snapped off and bubbly paint etc...


Using various grades of wet and dry paper (roughly 200 to 400) I smoothed it back to as good a base surface as possible.

Wet and dried back to a smooth surface


A small fixing was fabricated out of some plastic to replace the broken one. This was then glued into place.

End cap fixing replaced


I then had it resprayed at a local body shop.


Sprayed


Now onto the part about fitting. Both end caps were screwed on to help with the positioning of the front splitter. As the car was on jacks in the garage the front wheels were off, this made it much easier to work on, a recommended step if you are going to undertake the same task.

I already had some strapping lying about in the garage, which was ideal for the job at hand, holding the splitter tight to the front bumper. Each end would be tied to the suspension and pulled tight.

After deciding on the straps to hold the bumper on, I started applying some silicone sealant to the inside ridge (joining face) of the splitter, as you can see it was applied liberally. Once the whole strip had been siliconed, it was moved into position, and then held in place by the strap.

It was also necessary to support the splitter from below, to do this I used two blocks of foam which were also lying around in the garage. They were bent and put under the splitter. They had just enough energy to keep the splitter up, but not enough to move it any higher and out of place, spot on luckily.

It was then a case of waiting overnight for the silicone to go off thoroughly. Upon taking the supports away the splitter didnt fall off so it was a job well done.

Silicone on


Held whilst drying

Lower mesh sprayed

The new face off grille really transformed the front end of the car, but it also highlighted just how tired and grey the lower mesh was looking.

MG Rover 25 ZR face off grille fitted

The lower mesh is fitted to the bumper from the B surface (back), you can remove it out without taking the bumper off, but it's a lot easier if you do. Fortunately it's not too much of a task to take off.

The mesh is held in place with a number of clips and only takes a few seconds to lift away.

To prep for paint I gave it at good wire brushing, this should remove all loose paint and dirt debris.

MG Rover 25 ZR lower mesh prepped for paint

Next up was a few layered coats of Halfords grey metal primer.

MG Rover 25 ZR lower mesh primer painted

And to finish, a few layered coats of Halfords satin black paint.

MG Rover 25 ZR lower mesh painted satin black

Once the paint was fully dried and hardened I fitted it back to the bumper and put everything back together.

MG Rover 25 ZR lower mesh refittedMG Rover 25 ZR lower mesh clip

Despite being a quick, cheap and easy job, it's well worth doing to rejuvenate the front end of the car. I'm really happy with the result and my OCD reflexes have been satisfied as both meshes are now the same colour.


MG ZR Headlights Fitted

I finally got a hold of some MG ZR headlights to replace my broken Rover 25 ones.

I'd been after some for quite a while, the black insert of the MG ZR (and later year 25's) headlights looks much better in my opinion, and more in keeping with the red/black theme I've got going on.

Whilst work was ongoing with fitting the MG ZR front bumper, it was the ideal opportunity to fit the headlights.

Once the front bumper was off it became apparent my old one wasn't just slightly broken, it was smashed to bits, the previous owner must have given it a fair whack. The fixing bolts were actually holding the fixing tabs together, once removed they fell to pieces.


Likewise when the rear bumper was off, I gave the front end chassis a good clean. If you are going to do a job you might as well do it properly.

All clean, it was time to fit the new headlights, once attached to the car I set the beam correctly. Basically all I did was close the garage door, turn the headlights on and level them up.


After everything was set up it was time to put the front bumper back on and see how they look.


A big improvement in my opinion, much meaner at the front end now combined with the face off grille. A worth-while upgrade to any 25 with the original chrome headlights.


Exhaust extension

The MG ZR rear bumper and valance, although subtle, really transformed the back end of the car.

However, I hadn't realised that the valance was actually fitted over the top of the standard Rover 25 bumper lower. (On later Mk1 models the ZR bumper and valance was moulded as one part). This meant the lower part of the bumper was actually further rearward than it was before.

When buying the Longlife exhaust, which was custom made to suit a Rover 25 bumper, I didn't account for this difference. Clearly, some modification was required to extend it.

MG Rover 25 ZR Longlife Exhaust too short

Rather than cut and shut a section of the exhaust, be it mid pipe or back box, I chose to make a short extension section between them both.

I wanted the exhaust to sit flush with the bumper, not stick out, so by simply measuring from the end of the exhaust tip to the valance gave me 45mm (1 3/4").

Making use of those preschool skills, I took a rubbing of the joining flanges of the back box and the mid pipe. This could then be used to make two metal flanges and a set of 4 gaskets. For the gaskets I used Klingersil C-4400 which can tolerance constant +200°C temperatures and a maximum of +400°C.

Klingersil C4400 custom exhaust gasketsKlingersil C4400 custom exhaust gaskets

To join the two metal flanges together I used a section of tube equal bore to the rest of the exhaust system, then welded the flanges to it.

Custom Rover 25 exhaust extension sectionCustom Rover 25 exhaust extension section

Custom Rover 25 Exhaust extension with Klingersil gasket

Everything was going rather swimmingly, so it was time for the first minor hiccup. When test fitting the exhaust extension piece, the Longlife exhaust wasn't mating correctly. This was due to the flange on the back box being welded to the pipe at an angle, to match the mid pipe, but the back box pipe not being cut to the same angle.

Not a major problem, to rectify the problem I simply cut the pipe off flush with the flange.


Minor mod complete, the two parts now mated perfectly.

MG ZR Rover 25 custom exhaust extension section

For such a subtle change, it's made all the difference, taking the car from looking like a clumsily modified car to something close to, if not better than, factory fit. I'm really pleased with the result, and must thank my Dad for his help throughout the mini project, without his skills I'd have been quite stuck.

Before and After

Rover 25 MG ZR bodykit and longlife oval exhaust Rover 25 MG ZR bodykit and longlife oval exhaust

Rover 25 MG ZR bodykit and longlife oval exhaust close upRover 25 MG ZR bodykit and longlife oval exhaust close up